
MORFOHOUSE GUIDES

Shower waterproofing: what is behind the tiles?

Tiles and grout alone do not guarantee a waterproof shower. The protection behind them matters just as much as the finish you see.

A suitable waterproofing system helps keep shower water away from the walls and floor underneath. Planning it before tiling means considering the whole shower, including corners, pipes and the drain or shower tray.
A practical guide · 3 min read
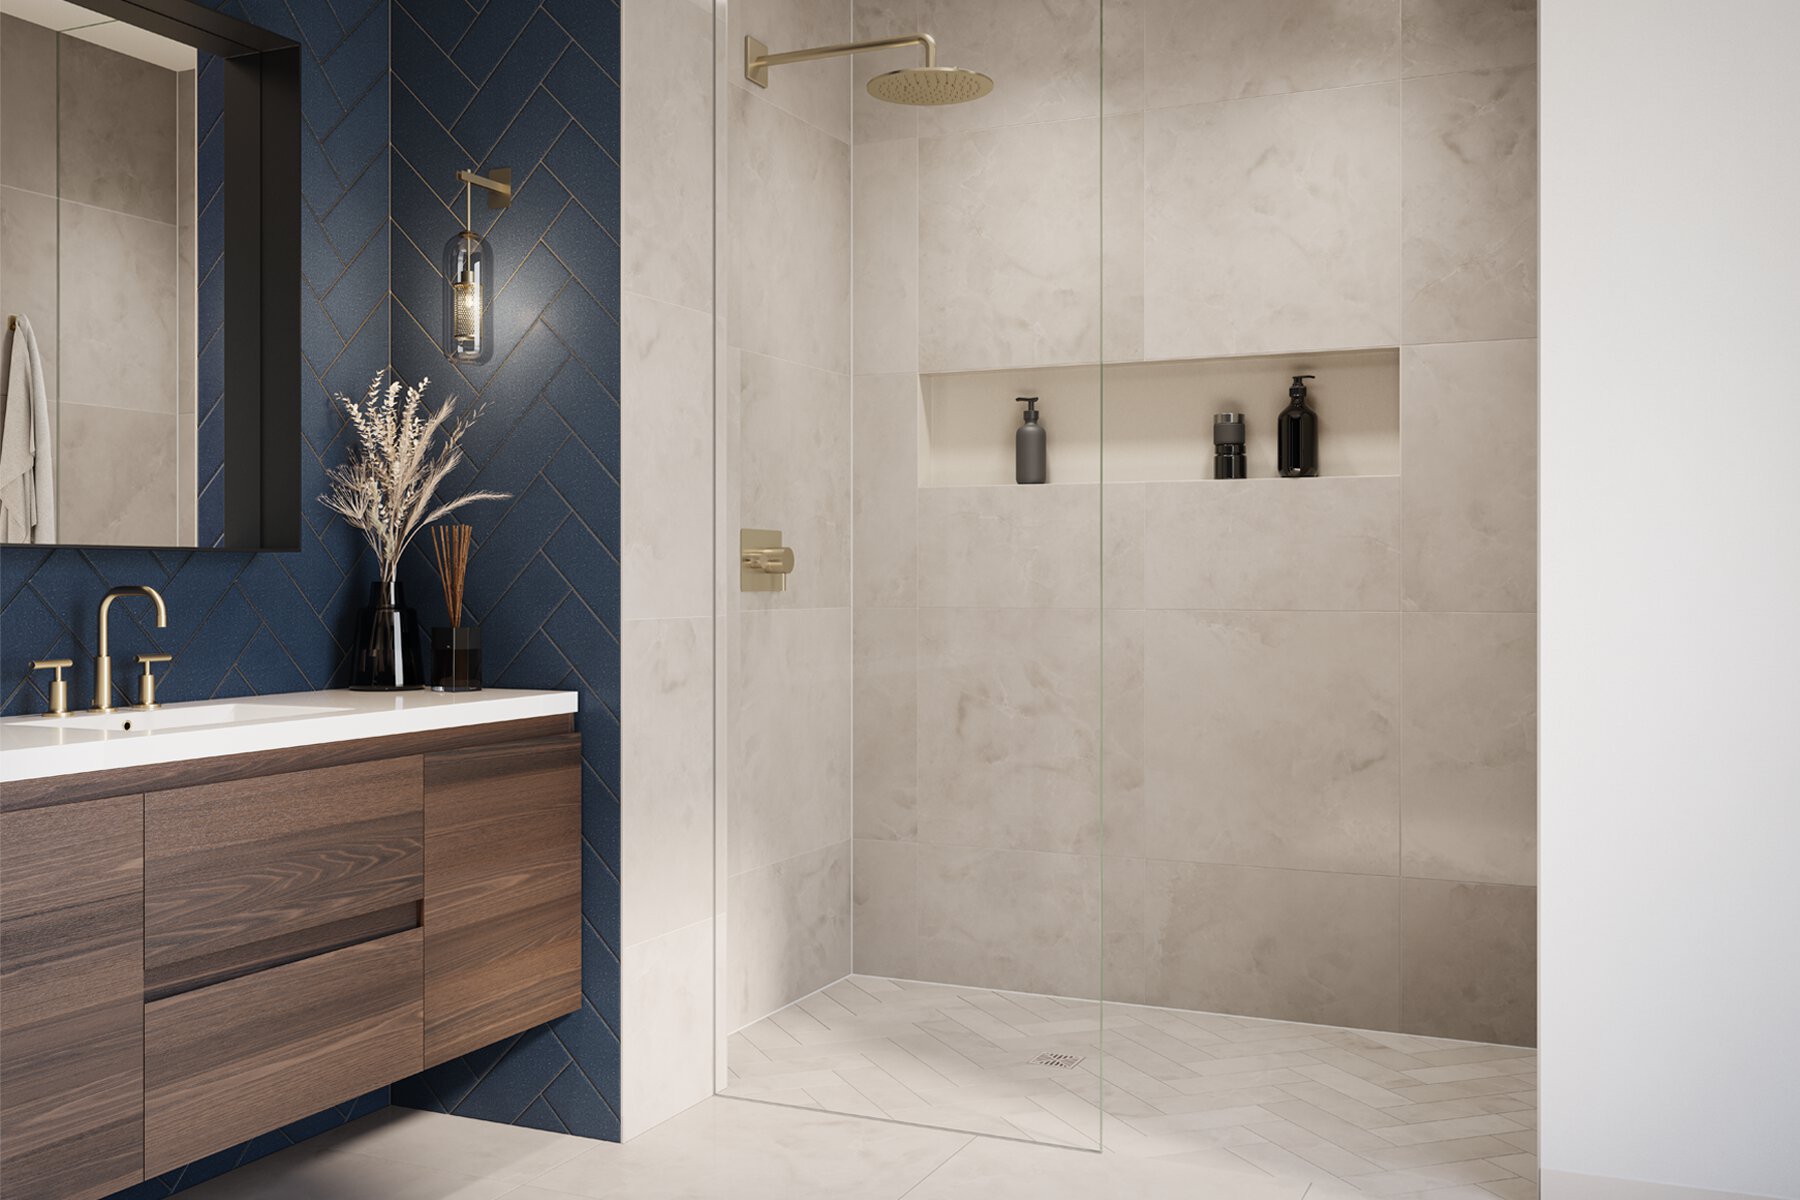
Cream tiled shower with navy vanity wall
Design inspiration · temporary preview photograph

What makes a shower waterproof?

Waterproofing is a separate part of the construction. Water-resistant grout can help, but it does not replace that protection. Neither does a tile sealer or a visible bead of silicone.

There are three common approaches. The right choice depends on the surface underneath, the shower design and how the different materials connect.

01

Sheet membranes

These are waterproof sheets fitted before the tiles. Some have a fabric-like surface to help the adhesive grip, but ordinary fabric or mesh is not a waterproof membrane.

The joins and corners need to be sealed as part of the system.
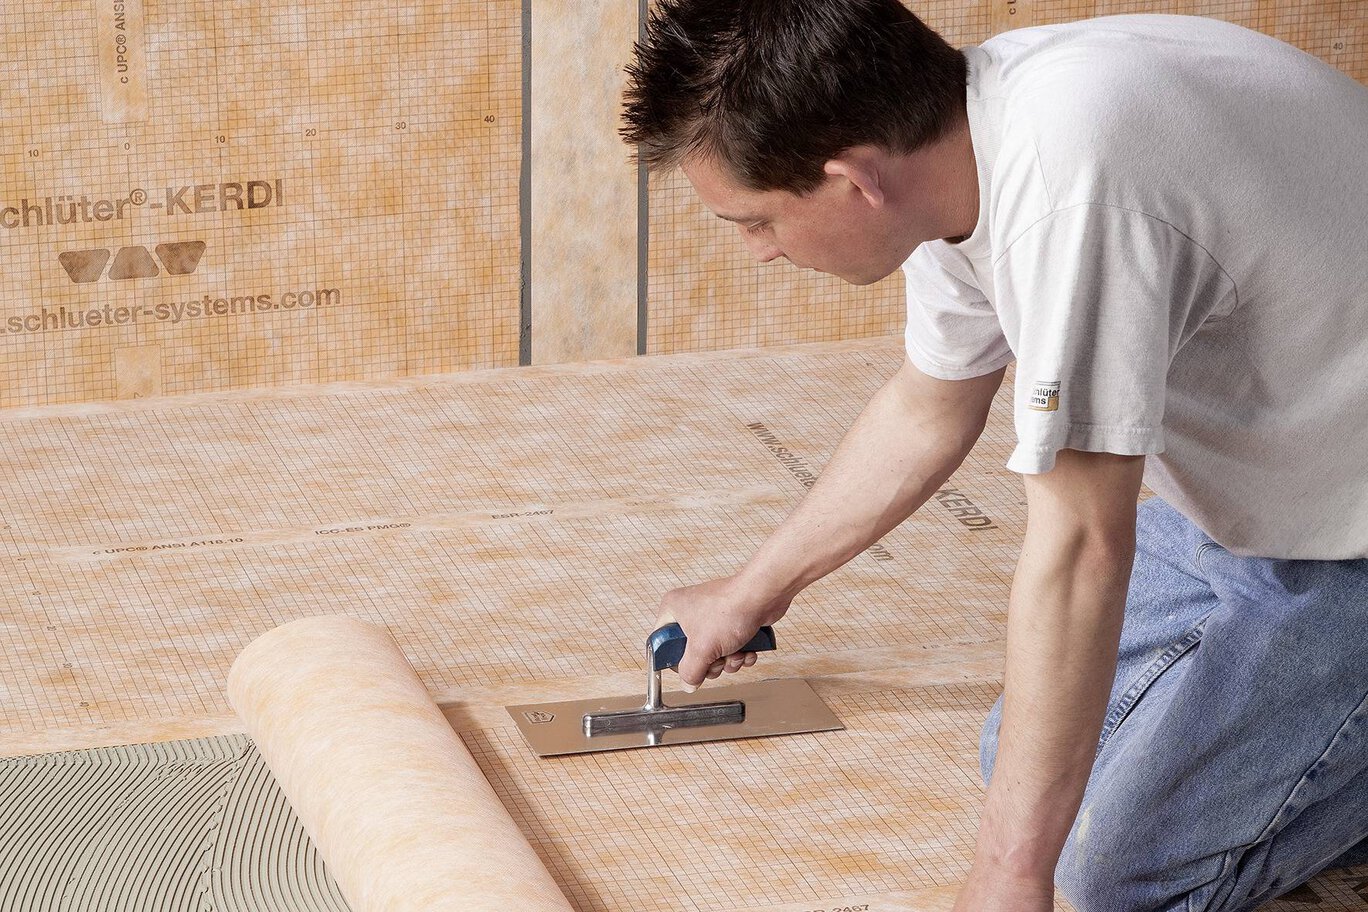
Sheet membrane fitted before tiling
02

Liquid membranes

These are brushed, rolled or spread onto a prepared surface. They form a waterproof layer once they have dried or cured.

The correct thickness and drying time matter, along with any sealing bands or reinforcement required at junctions. A surface that looks covered is not necessarily protected properly.
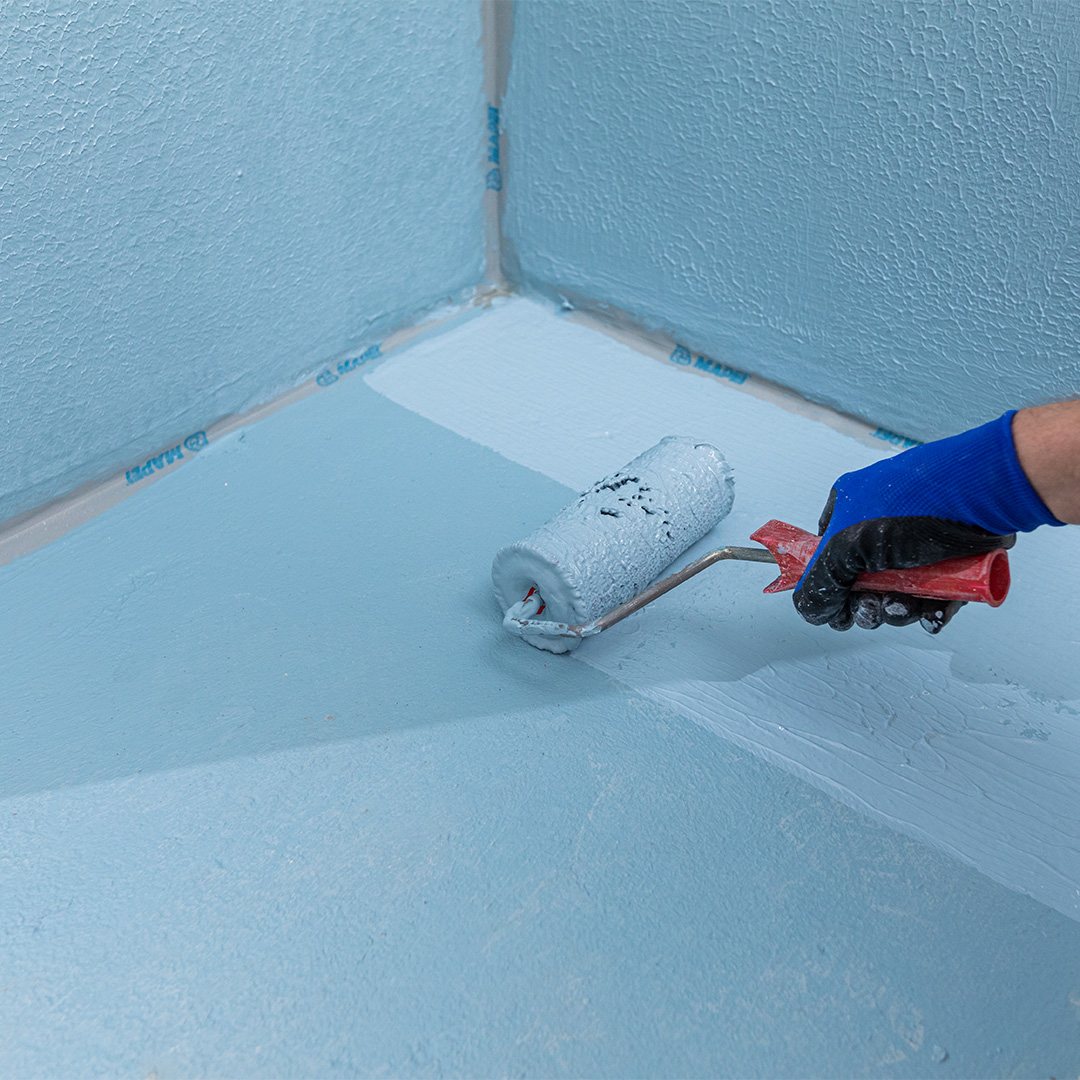
Liquid membrane applied with a roller
03

Waterproof boards

Some boards provide both a surface for tiling and waterproof protection. Their joints, fixing points and connections still need the specified sealing treatment.

A board described as moisture-resistant is not necessarily waterproof. Its suitability for the shower must be checked.
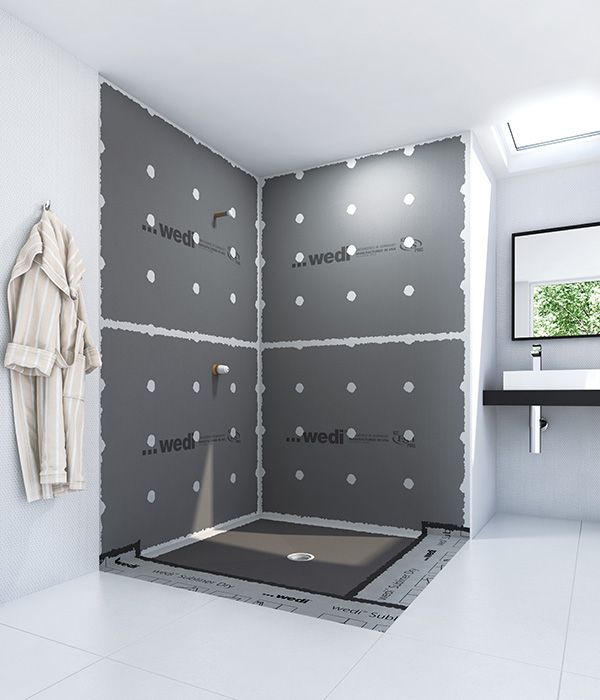
Waterproof boards with sealed joints

The details matter

Whichever system is chosen, it must connect properly around:

  • Corners and the junction between walls and floor.
  • Openings for pipes and fittings.
  • Recessed shelves, also called niches.
  • The drain or shower tray.

A tiled shower floor also needs suitable falls towards the drain. A niche needs detailing that allows water to drain out. These features should be planned together with the waterproofing, rather than added afterwards.

What if I have a ready-made shower tray?

The tray collects water, but the adjoining walls and the tray-to-wall connection still need appropriate protection. The visible sealant joint needs maintenance and should not be assumed to provide all the protection the installation needs.

Three questions to ask your installer

  1. Which waterproofing system will you use, and where?
  2. How will you seal the corners, pipes and drain or tray connection?
  3. What checks will you carry out before tiling?

Clear answers help you understand what is included in the work. Photographs taken before tiling can also provide a useful record of details that will later be hidden.

Planning your shower with Morfohouse

A beautiful shower starts with decisions about what you see and what sits behind it. Discuss your layout, tile choices and waterproofing with Morfohouse as part of your bathroom design and renovation.

Contact Morfohouse to discuss your bathroom.

Technical references: UNE 138002 and the selected waterproofing manufacturers’ installation guidance. Prepared October 2026. Product-specific requirements depend on the installation.

GUÍAS MORFOHOUSE

Impermeabilización de duchas: ¿qué hay detrás de los azulejos?

Los azulejos y el material de rejuntado no garantizan por sí solos una ducha estanca. La protección que queda detrás importa tanto como el acabado visible.

Un sistema de impermeabilización adecuado ayuda a evitar que el agua de la ducha llegue a las paredes y al suelo que hay debajo. Debe planificarse antes de colocar las baldosas, teniendo en cuenta las esquinas, las tuberías y el desagüe o el plato.

Una guía práctica · 3 min de lectura
Ducha en tonos crema con pared azul marino
Inspiración de diseño · fotografía provisional

¿Qué protege la ducha frente al agua?

La impermeabilización es una parte independiente de la construcción. Un material de rejuntado resistente al agua puede ayudar, pero no sustituye esa protección. Tampoco lo hacen un sellador para baldosas o un cordón visible de silicona.

Hay tres soluciones habituales. La elección depende de la superficie que queda debajo, del diseño de la ducha y de cómo se conectan los materiales.

01

Membranas en lámina

Son láminas impermeables que se colocan antes del alicatado. Algunas tienen una superficie textil para facilitar el anclaje del adhesivo, pero una tela corriente o una malla no son una membrana impermeable.

Las uniones y las esquinas deben sellarse como parte del sistema.

Membrana en lámina antes del alicatado
02

Membranas líquidas

Se aplican con brocha, rodillo o llana sobre una superficie preparada. Forman una capa impermeable una vez secas o curadas.

Importan el espesor y el tiempo de secado, además de las bandas de sellado o refuerzos que requieran los encuentros. Que una superficie parezca cubierta no significa que esté bien protegida.

Membrana líquida aplicada con rodillo
03

Paneles impermeables

Algunos paneles proporcionan tanto una superficie para colocar baldosas como protección impermeable. Sus juntas, fijaciones y conexiones siguen necesitando el sellado especificado.

Un panel descrito como resistente a la humedad no es necesariamente impermeable. Hay que comprobar que sea adecuado para la ducha.

Paneles impermeables con juntas selladas

Los detalles cuentan

Sea cual sea el sistema, debe conectarse correctamente en:

  • Las esquinas y el encuentro entre paredes y suelo.
  • Los pasos de tuberías y accesorios.
  • Los estantes empotrados, también llamados hornacinas.
  • El desagüe o el plato de ducha.

Un suelo de ducha alicatado también necesita pendientes adecuadas hacia el desagüe. Una hornacina debe permitir que el agua salga. Estos elementos deben planificarse junto con la impermeabilización, en lugar de añadirse después.

¿Y si tengo un plato prefabricado?

El plato recoge el agua, pero las paredes contiguas y la conexión entre plato y pared siguen necesitando protección. La junta de sellado visible requiere mantenimiento y no debe suponerse que aporta toda la protección necesaria.

Tres preguntas para tu instalador

  1. ¿Qué sistema de impermeabilización utilizarás y en qué zonas?
  2. ¿Cómo sellarás las esquinas, las tuberías y la conexión con el desagüe o el plato?
  3. ¿Qué comprobaciones harás antes de colocar las baldosas?

Unas respuestas claras ayudan a entender qué incluye el trabajo. Las fotografías tomadas antes del alicatado también pueden servir como registro de detalles que después quedarán ocultos.

Planifica tu ducha con Morfohouse

Una ducha bien diseñada empieza por decidir qué se verá y qué habrá detrás. Habla con Morfohouse sobre la distribución, las baldosas y la impermeabilización como parte del diseño y la reforma de tu baño.

Contacta con Morfohouse para hablar de tu baño.

Referencias técnicas: UNE 138002 e instrucciones de los fabricantes de los sistemas de impermeabilización seleccionados. Elaborado en octubre de 2026. Los requisitos concretos dependen de la instalación.

◉ WhatsApp